Prerequisites
Required Information:
- Ensure you have received your SafeNet NG VPN enrollment email or have access to your Movaci.com account for SafeNet NG VPN account enrollment.
- Ensure your device has a stable internet connection.
Enrollment Options
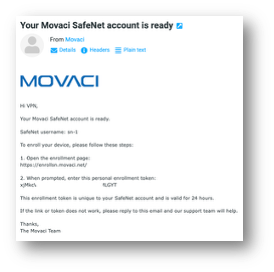
Option 1: Enrollment Email, you will receive Enrollment Token from your email.
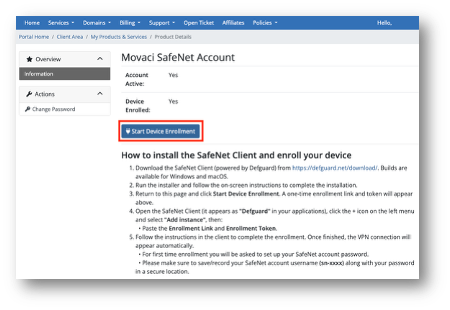
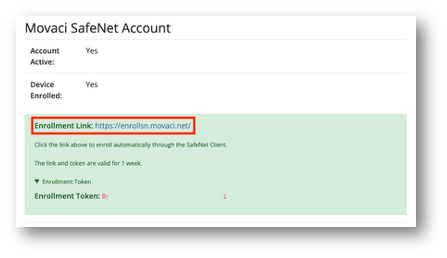
Option 2: My.Movaci.com, under Your Active Products/Services, SafeNet NG VPN product, click View Details, click Start Device Enrollment and click Enrollment Token to reveal your token.
First time enroll and setup SafeNet NG VPN on your desktop computer
- Obtain the Enrollment Token from either the Enrollment Email or the SafeNet NG VPN service page in our Customer Service Portal (My.Movaci.com), then copy the token for use during the enrollment process.
- Open the enrollment portal link: https://enrollsn.movaci.net
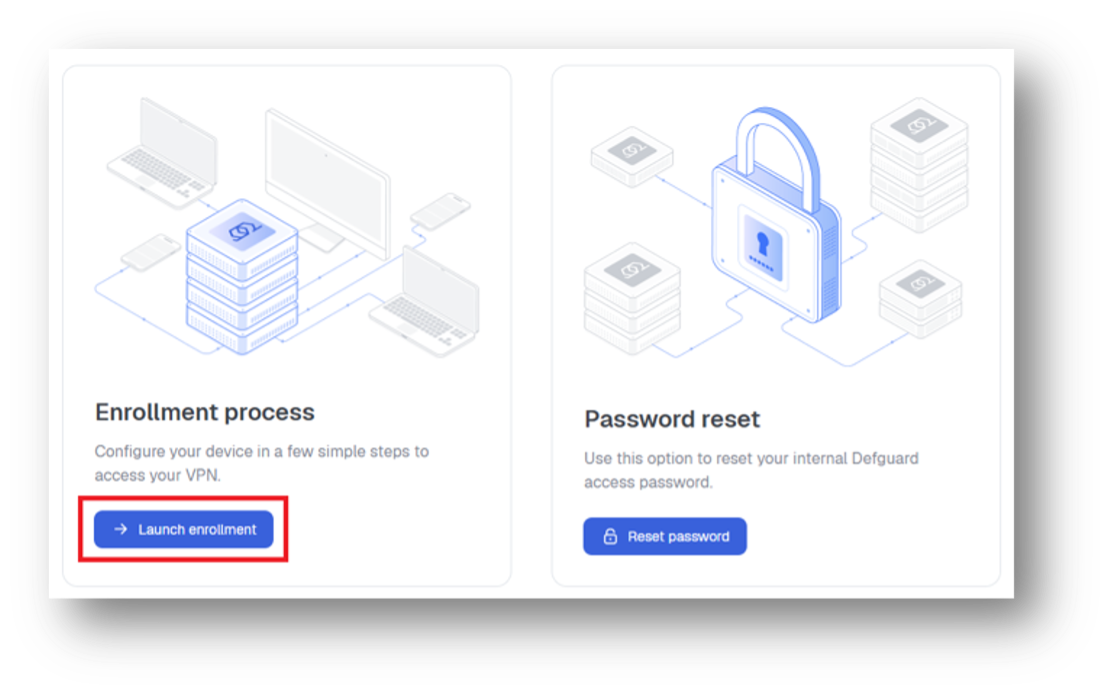
- Click Lunch enrollment.
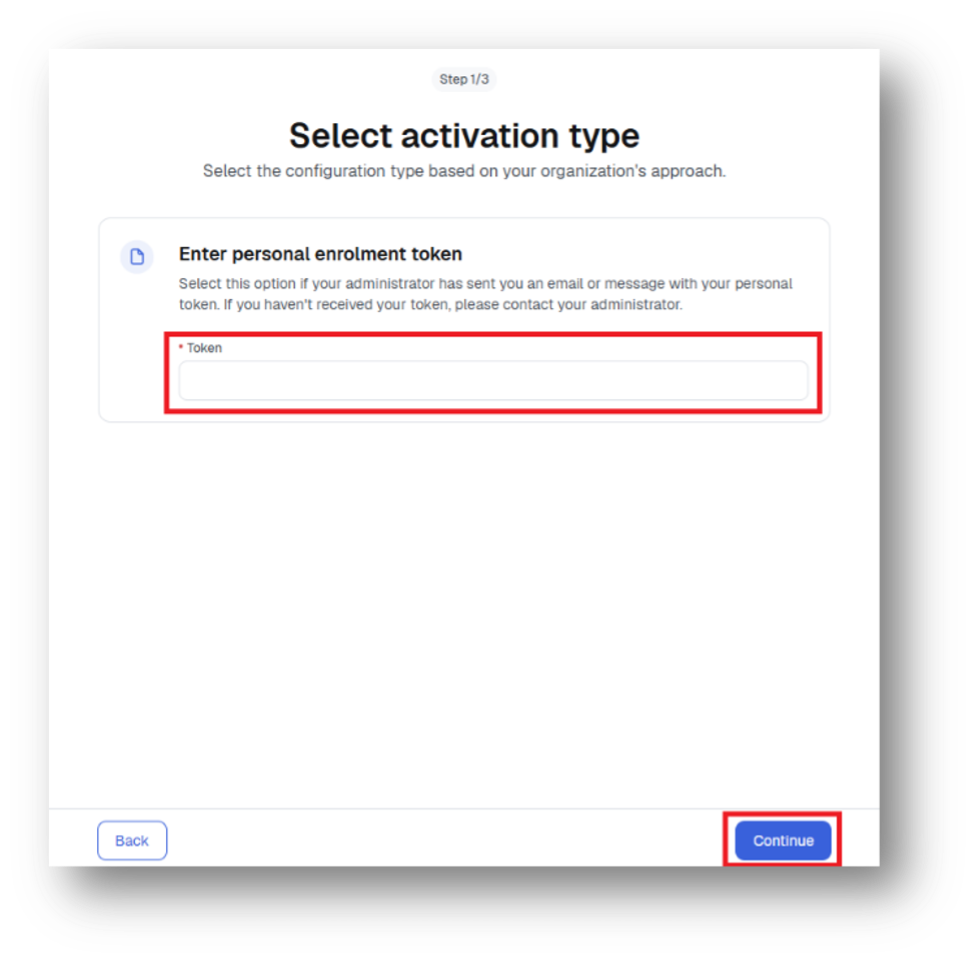
- Enter the Enrollment Token. Then click Continue.
- Please download the appropriate desktop client version for your device’s operating system.
For Mobile (iOS and Android), please refer to the setup mobile device section/guide.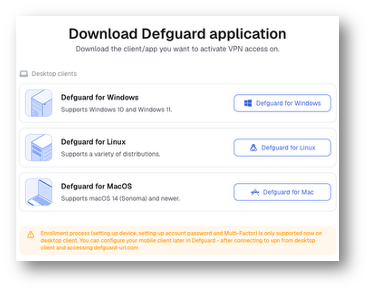
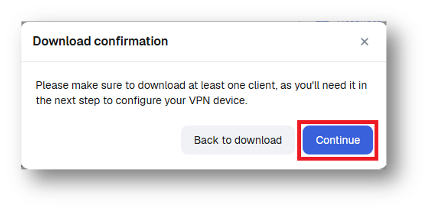
Note: Please make sure the Defguard VPN desktop client is installed and ready before continuing. - On the download confirmation page, click Continue.
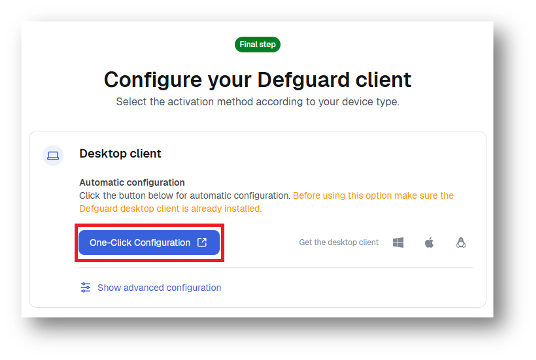
- On the configure your Defguard client page, click One-Click Configuration to open your desktop client.
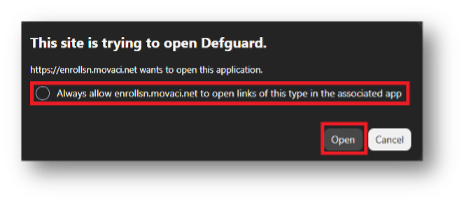
- A browser pop-up window will appear.
- Select, Always allow enrollsn.movaci.net to open links of this type in the associated app.
- Click Open.
- In the Defguard desktop client, enter your preferred device name and click Add Instance to start the client setup process.
**Important Note**:
This step only requires for first time setup your SafeNet NG VPN account and make sure to save your password in a secure location.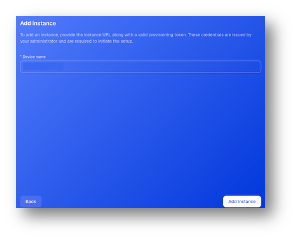
- At the welcome screen, click Continue.
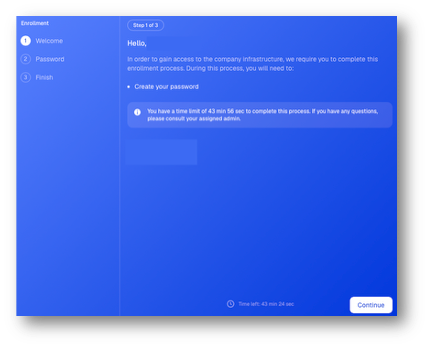
- Create a password for your SafeNet NG VPN account and click Continue.
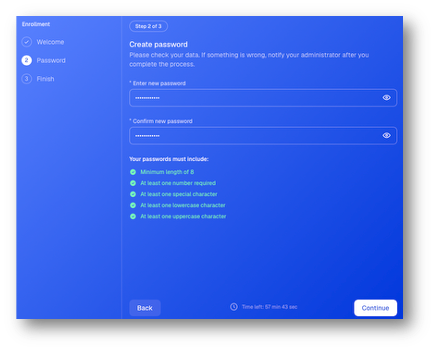
- Review the confirmation page and click Got it to finish the enrollment process..
**Important Note**:
Please make sure to save/record your SafeNet NG VPN username (sn-xxxx) along with your password setup on step #11 in a secure location.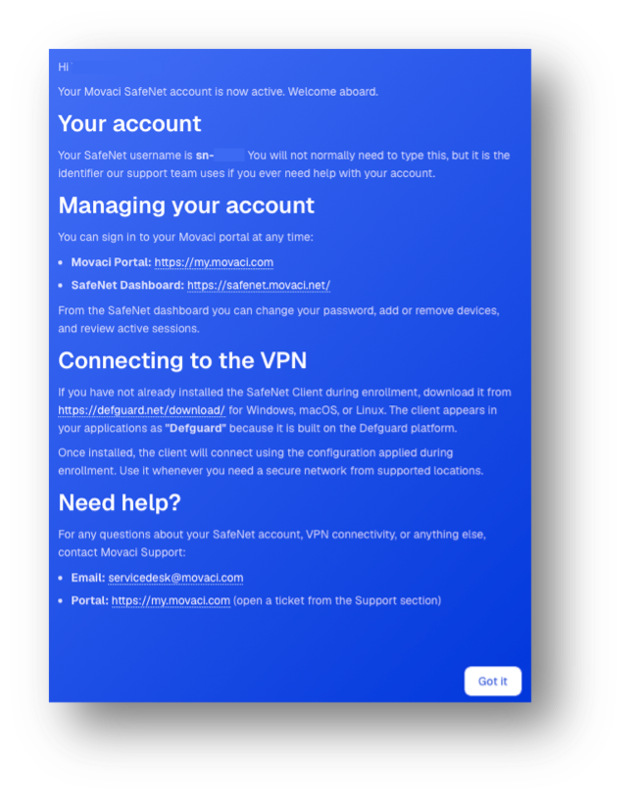
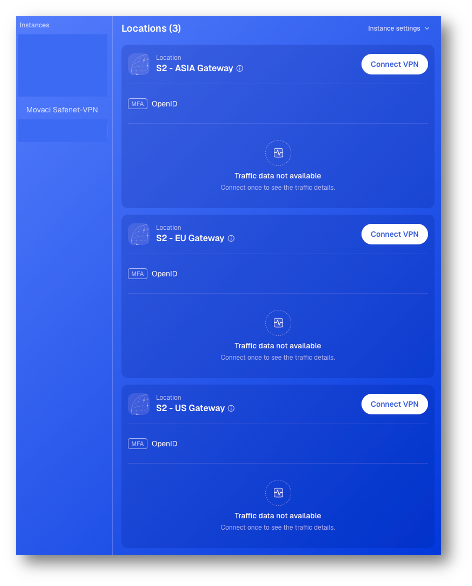
- The SafeNet NG VPN profiles will be automatically added to the Defguard desktop client application.